Build this simple DIY range hood project by yourself.
![]()
Time
![]()
Complexity
![]()
Cost
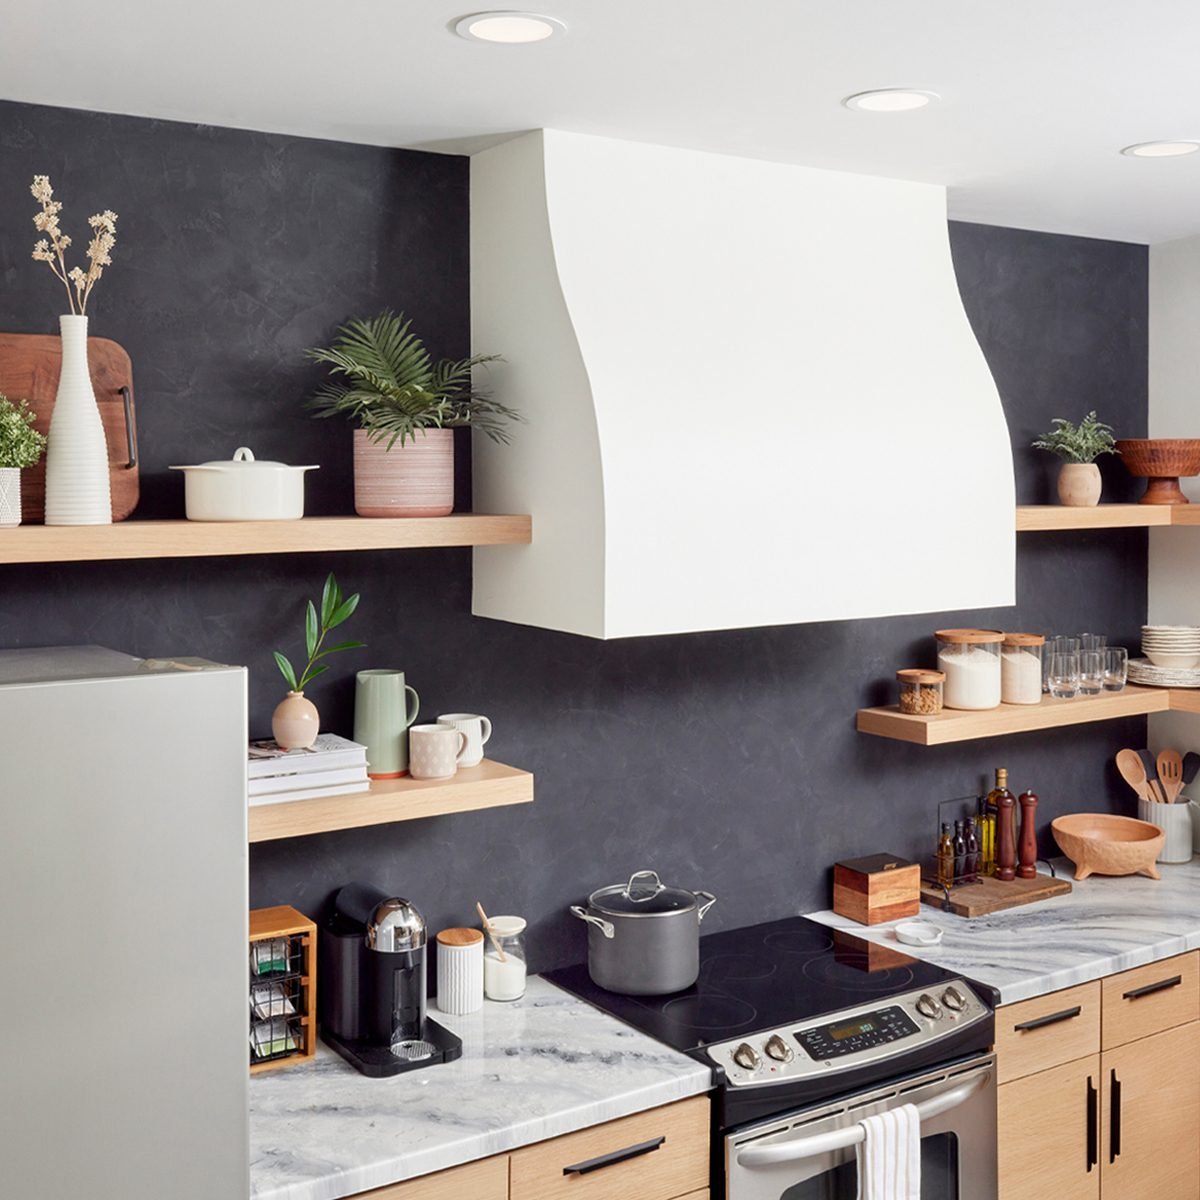
In this project, we'll show you how to design and install a range hood that could be the perfect final touch for your kitchen remodel.

Family Handyman
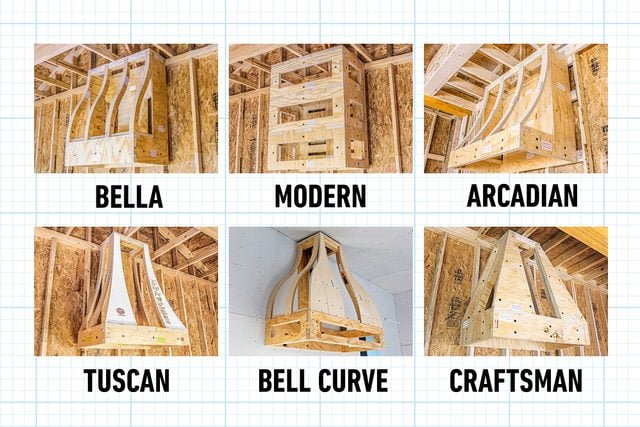
I f you can’t find an off-the-shelf range hood that suits your kitchen, you can build your own from scratch — or you can take an easier route, like we did. Archways & Ceilings offers many range hood designs you can size perfectly for your space.
Once you’ve chosen your design and supplied dimensions (follow the instructions on its website), Archways & Ceilings cuts all the parts for your range hood kit and ships it to your door. You assemble the hood and finish it as you wish. On the following pages, we’ll walk you through the steps to install it.
Note: This is a four-day job.
First day: Hang the structure, apply the drywall and joint compound.
Second day: Sand and apply more joint compound and let it dry.
Third day: Finish sanding, prime and add first coat of paint.
Fourth day: Second coat of paint.
Archways & Ceilings offers an array of possibilities for customizing range hoods. Bella, the style we chose for our kitchen, is just one option. The company also makes curved framing kits for archways, ceilings and walls, or the “ hard-to-build stuff.”
Courtesy of Archways & Ceilings